Core features of Eden's visual canvas — where you connect workspace content to AI chats, generate images and video, and collaborate in real time.
What is Canvas?
Canvas is your infinite visual workspace inside Eden. It's a creative surface where you can arrange files, notes, and ideas spatially — then connect them to AI chats and AI generation, all in one place.
What makes Canvas different from other tools is that it combines two things nobody else puts together: you can connect workspace items to AI chat nodes to research, brainstorm, and write with full context (like pasting ten YouTube videos onto the canvas and asking AI to analyze common patterns across every frame and transcript) — and you can generate images, video, and audio directly on the same canvas using those insights. Research and production live in the same space.
If you've used tools like Miro or Figma, the spatial interface will feel familiar. But Canvas goes further: it's connected to your entire Eden workspace — every file, video transcript, saved link, and note — and to multiple AI generation providers, so you can go from research to finished asset without switching tabs.
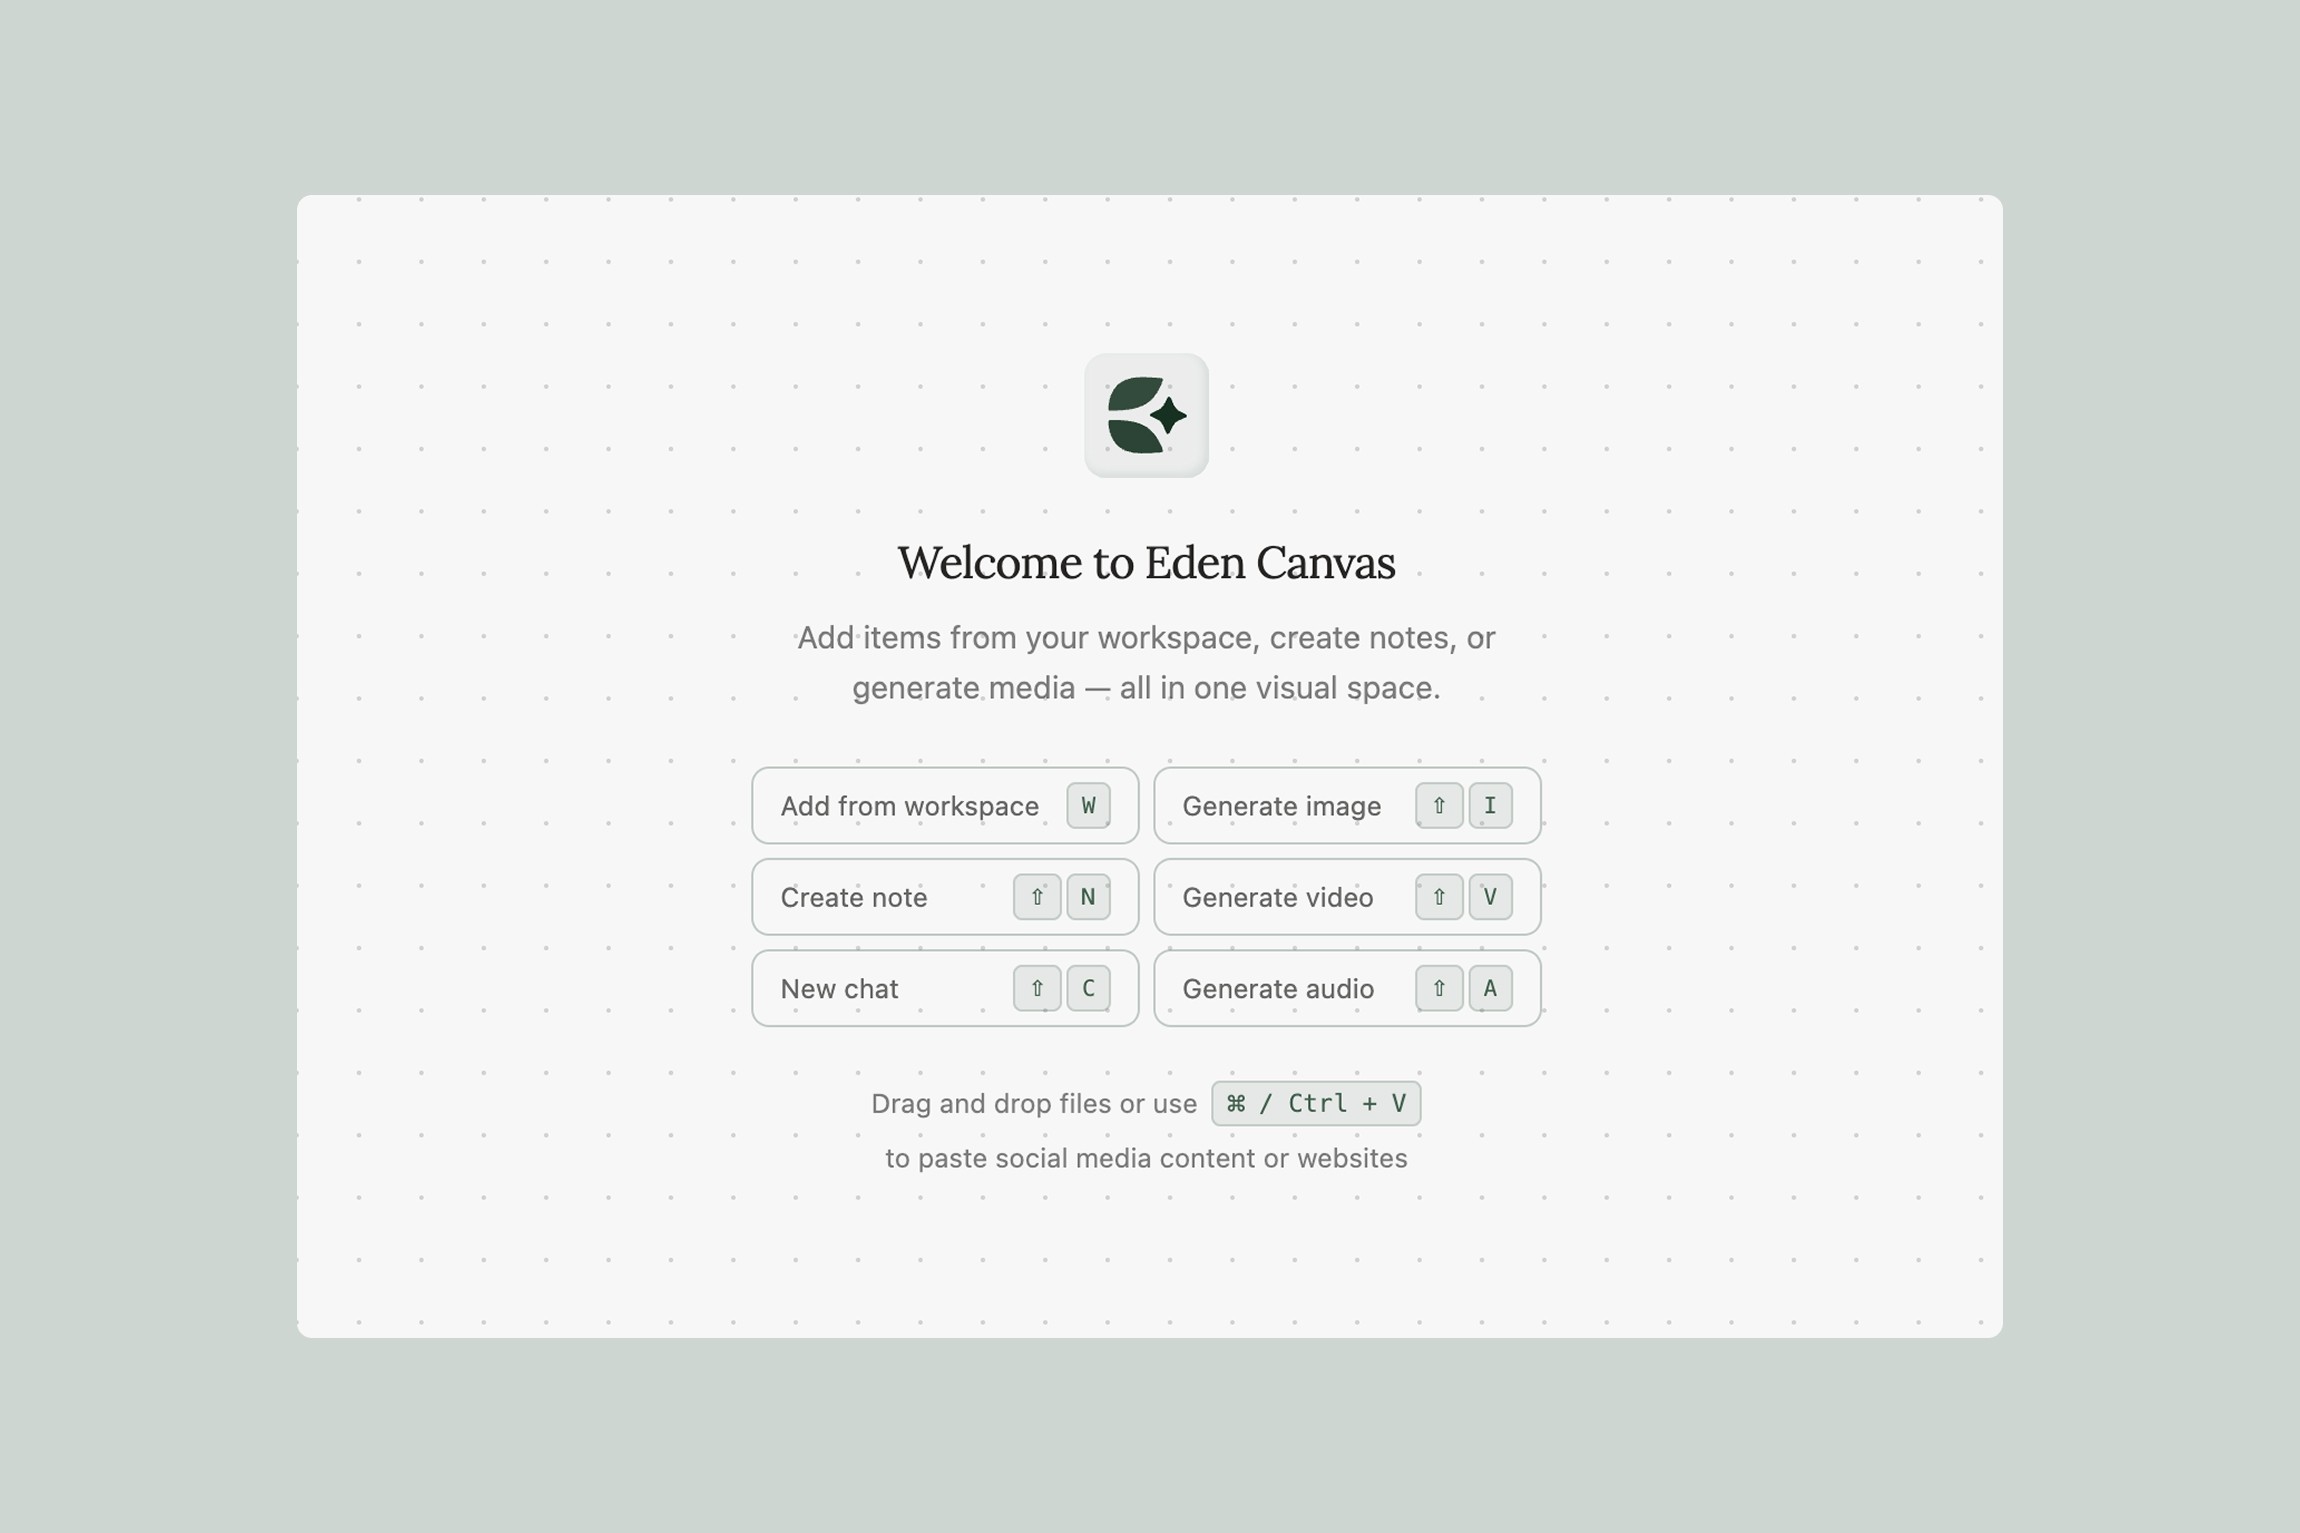
Your First 60 Seconds
When you open a new canvas, you'll see an infinite workspace with a toolbar along the top and zoom controls in the bottom-right corner.
Move around by holding Space and dragging, or by pressing H to switch to the Pan tool. Scroll to pan.
Zoom with Cmd/Ctrl+Scroll. You can also hold Z and click to zoom in, or Alt+Z to zoom out.
Select items by pressing V, then click anything to select it. Drag across the canvas to select multiple items at once.
Fit everything in view by pressing Cmd/Ctrl+0 — this auto-zooms to show all your content.
Adding Content to Your Canvas
Quick-Add from the Toolbar
Click the + button in the toolbar to access common actions:
New Note — Creates a note directly on your canvas
Browse Items... — Opens a dialog to search your existing workspace files or create new content
The sparkle icon in the toolbar gives you access to AI generation and chat:
New Chat — Starts an AI chat node on the canvas
Generate Image / Video / Audio — Opens AI generation
Bring in Existing Work
Use Browse Items → Add Existing to pull files you've already saved in Eden onto the canvas. This includes images, videos, audio, PDFs, notes, markdown documents, YouTube links, Instagram posts, X posts, article links, chats, prompts, projects, HTML files, CSV data, and more.
This is a key part of how Canvas works — everything in your Eden workspace is available to place on the canvas and connect to AI. A YouTube video you saved last week, a PDF your collaborator uploaded, a transcribed podcast episode — they all become visual, arrangeable, and connectable.
Items on the canvas display at different levels of detail depending on zoom. Zoomed in, you see full content. Zoomed out, they become thumbnails, then color-coded placeholders. This keeps the canvas fast and readable at any scale.
Paste Links Directly
Paste links directly onto the canvas with Cmd/Ctrl+V. YouTube videos, Instagram posts, articles, and other supported links are added and processed automatically — no need to go through the workspace first.
Upload Files
Press U to upload files from your computer, or use W to browse your workspace.
Chat Nodes: AI with Full Context
One of Canvas's most powerful features is the Chat node. Add one via the sparkle icon → New Chat (or press Shift+C), and you get an AI conversation right on your canvas.
What makes chat nodes special is connections. You can draw arrows from any workspace items on your canvas — YouTube videos, PDFs, notes, transcribed links, images — into a chat node, and the AI gets full context from everything you've connected. It doesn't just read transcripts — it has data from every frame of a video, the full content of documents, and visual information from images.
Example: Paste 8 YouTube video URLs onto the canvas (Cmd/Ctrl+V) and place them in a section. Connect the section to a chat node. Ask: "What title structures do these videos have in common? Which hooks perform best based on the content?" The AI analyzes every frame and transcript and gives you a structured analysis — without you watching a single video.
Example: Connect your brand guidelines PDF, three competitor Instagram posts, and a mood board image to a chat node. Ask: "Based on our brand guidelines and these competitor examples, suggest five angles for our next campaign."
Pro tip: For longer, more detailed prompts, write them as a note (a markdown document) on the canvas and connect the note to your chat or generation node. This keeps your prompt editable, reusable, and connected alongside other context — much better than typing a wall of text into a prompt field.
Drawing and Annotating
Canvas includes a full set of creation tools, all accessible via single-key shortcuts:
Freehand Drawing (D) — Sketch directly on the canvas. Adjust stroke color, width, and opacity.
Text (T) — Place text anywhere. Choose from heading levels (H1, H2, H3, Body), set alignment, and apply bold or italic styling.
Sticky Notes (N) — Drop color-coded notes anywhere. Choose from 8 colors (yellow, pink, green, blue, purple, orange, teal, brown) and write using markdown. Great for annotations, feedback, and brainstorming.
Shapes (R) — Draw rectangles, ellipses, and triangles. Customize stroke, fill, fill opacity, and border radius.
Arrows (L) — Draw connection arrows between elements. Arrows snap magnetically to element edges (left, right, top, bottom). Arrows aren't just visual — they define functional connections: linking workspace items to chat nodes gives the AI context, and linking items to generation blocks provides visual references.
Organizing Your Canvas
Groups
Select multiple elements and press Cmd/Ctrl+G to group them. Grouped elements move and resize together. Ungroup with Cmd/Ctrl+Shift+G.
Sections
Sections are containers you can place on the canvas (S) — similar to frames in Figma. Drag any items into a section, and they belong to it. When you connect a section to a Chat node or a generation block, everything inside the section is pulled into context automatically. Instead of drawing individual arrows from ten YouTube videos to a Chat, you drop them all into a section, connect the section once, and the AI has context from all of them.
Sections are also great for organizing your canvas visually. Rename the section label to describe what's inside — use them to group by topic, status, platform, or whatever structure your project needs.
Canvas Settings
Click the gear icon in the toolbar to configure:
Dot Grid — Toggle a background dot grid for visual alignment
Snap to Grid — Auto-align elements when dragging
Minimap — Show an overview in the bottom-left corner for navigating large canvases
AI Generation on the Canvas
Click the sparkle icon in the toolbar to open AI generation. Three types are available:
Image Generation
Generate images from text prompts using providers like Nano Banana, Seedream, Flux, and more. Choose aspect ratios, resolutions (up to 4K), and output formats. Click "Place on Canvas" to add the generated image to your workspace.
Video Generation
Create AI videos using providers like Veo, Kling, Runway, Wan, and Grok Imagine. Options vary by provider and include durations from 3s to 15s, resolutions from 480p to 4k, and multiple aspect ratios.
Audio Generation
Generate music with Suno with an optional instrumental-only mode.
How Generation Works
Type a text prompt describing what you want
Optionally, draw arrows from canvas items to the generation block — these become visual reference inputs
Chain multiple generation blocks together for multi-step workflows
Choose a destination folder for generated files
Watch real-time progress, then click "Place on Canvas" to add the result
You can retry any generation with the same settings, and each block displays a settings summary in its header.
Pro tip: Write detailed prompts as a note on the canvas and connect it to the generation block. This lets you craft and iterate on complex prompts alongside your visual references, and reuse them across multiple generations.
Real-Time Collaboration
When others are on the same canvas:
Live cursors show where collaborators are working in real time
Presence avatars show who's currently viewing the canvas
All changes sync instantly — powered by conflict-free concurrent editing
A connection status indicator confirms you're synced
No setup required — collaboration works automatically when multiple people open the same canvas.
Keyboard Shortcuts
Tools
Key | Action |
|---|---|
V | Select |
H | Pan |
D | Draw |
R | Shape |
T | Text |
L | Arrow |
N | Sticky Note |
S | Section |
Space (hold) | Temporary Pan |
Z (hold) | Temporary Zoom In |
Alt+Z (hold) | Temporary Zoom Out |
Add to Canvas
Shortcut | Action |
|---|---|
Shift+N | New Note |
Shift+L | New Link |
Shift+C | New Chat |
Shift+I | Generate Image |
Shift+V | Generate Video |
Shift+A | Generate Audio |
U | Upload File |
W | Add from Workspace |
Actions
Shortcut | Action |
|---|---|
Cmd/Ctrl+Z | Undo |
Cmd/Ctrl+Shift+Z | Redo |
Cmd/Ctrl+A | Select All |
Cmd/Ctrl+G | Group |
Cmd/Ctrl+Shift+G | Ungroup |
Cmd/Ctrl+D | Duplicate |
Cmd/Ctrl+0 | Fit to Content |
Delete / Backspace | Delete Selected |
Escape | Deselect / Exit Tool |
Layer Ordering
Shortcut | Action |
|---|---|
] | Bring Forward |
Shift+] | Bring to Front |
[ | Send Backward |
Shift+[ | Send to Back |
Navigation & Selection
Shortcut | Action |
|---|---|
Cmd/Ctrl+Scroll | Zoom In/Out |
Scroll | Pan |
Middle Mouse Drag | Pan |
Shift+Click or Cmd/Ctrl+Click | Add to Selection |
Double-click | Edit Item |
Auto-Saving
Your work saves automatically. Canvas caches changes instantly and syncs to the cloud in the background. If you switch tabs or close the page, your latest work is saved.
Next Steps
Now that you know the basics:
Paste some YouTube links onto the canvas and connect them to a Chat node to see AI with full context
Generate an AI image and place it alongside your research
Create a section to group related items and connect them to a node all at once
Invite a collaborator and work together in real time
Thank you.

